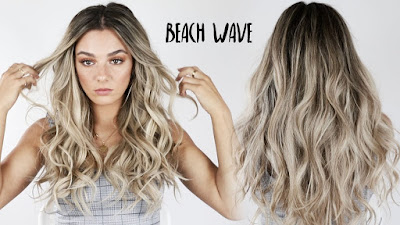
- Begin by sectioning the hair.
- Take sections of hair — the smaller the section, the tighter
the wave. (If you have thin hair, you can take smaller sections. If you have thicker
hair, take bigger sections.)
- Start clamping the top of the hair and work your way to the
bottom. Clamp the first section, and then clamp the next section right after
the very first bump.
- Continue to the next section of hair and do again.
- For the top layer (last layer of hair) you can apply the Be
Professional Waver as a wand to create loose curls.
- Saige likes to use a regular curling iron for the last
layer. The waver creates the right amount of volume and thickness underneath.
- Take small sections of hair on the top layer and curl. Use fingers to pull curls and waves together and add some texturizing spray to get that beachy, messy, lived-in look.
Totally customized look by coloring your hair prior to hair extension install, to make the picture-perfect final result.
Tuesday, September 8, 2020
Step-By-Step Guide for Make Wave Hair
Tuesday, August 25, 2020
Beach Wave with a Flat Iron
Beach waves can be tricky to master yet the most comfortable going of hairstyles. So we decided to break down every step so that you can look like you just stepped out of a salon.
Always Apply Heat Protectant
Section off your Hair
Start Curling with Small Pieces
Now that your hair is sectioned into place start at the bottom sections and work your way up. Take a one-inch section of hair at a time and begin to curl. The smaller the section is the more defined your curls will be, the thicker the section the more of a blown-out curl you’ll create.
Twist Your Flat Iron 360 Degrees and Pull Down
After you’ve decided what type of curl you want, place the small piece of hair you want to curl on the flat iron at the root of the hair, twist 360 degrees away from your face and pull down. You can mix-match directions for a more laid back natural-looking curl as well.
Brush Your Curls Out
As soon as the curls have cooled down gently brush out and style to your liking. Now if you like added volume flip your head upside down and hair spray before flipping your hair back up. And finally you will get Beach Waves hair.

